

Please make sure your Original Screen has the same Size, Resolution, Backlight Type as above!!
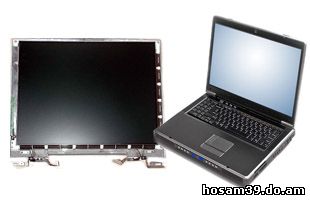
| Laptop LCD Removal Instructions |

For best viewing, go to the video page and
click "watch in high quality".
instructions
Things You'll Need:
- Small Phillips screwdriver
- Plastic prying tool
- Replacement LCD screen
-
Step 1
Disconnect all power sources from your Acer laptop, including the battery and AC adapter.
-
Step 2
Remove the four rubber seals and the two glued seals that hide the screws around the LCD screen bezel, which you can detect by looking at the corners and along the top of the bezel. Use your fingernail or a screwdriver to pry the seals out.
-
Step 3
Unscrew the screws you uncovered with a Phillips screwdriver. Use your fingers to slowly separate the screen bezel from the around the LCD screen.
-
Step 4
Unscrew the screws located along each side that are holding the LCD screen in place. Depending on the model of your laptop, there will six to eight screws to remove.
-
Step 5
Separate the protective cover from the LCD screen and carefully unplug the connector cable from the back of the screen. Lift the LCD screen out of the Acer laptop chassis.
-
Step 6
Attach the LCD connector cable to the back of the replacement LCD screen and carefully sit it in place.
-
Step 7
Secure the replacement LCD screen in place by replacing the screws you took out in Step 4.
-
Step 8
Position the display bezel back into the place and then replace all the screws around its edges. Pop the rubber seals back into place and then replace the glued seals by pressing them firmly in place. The residual glue should keep them in place.